Welcome to your new home

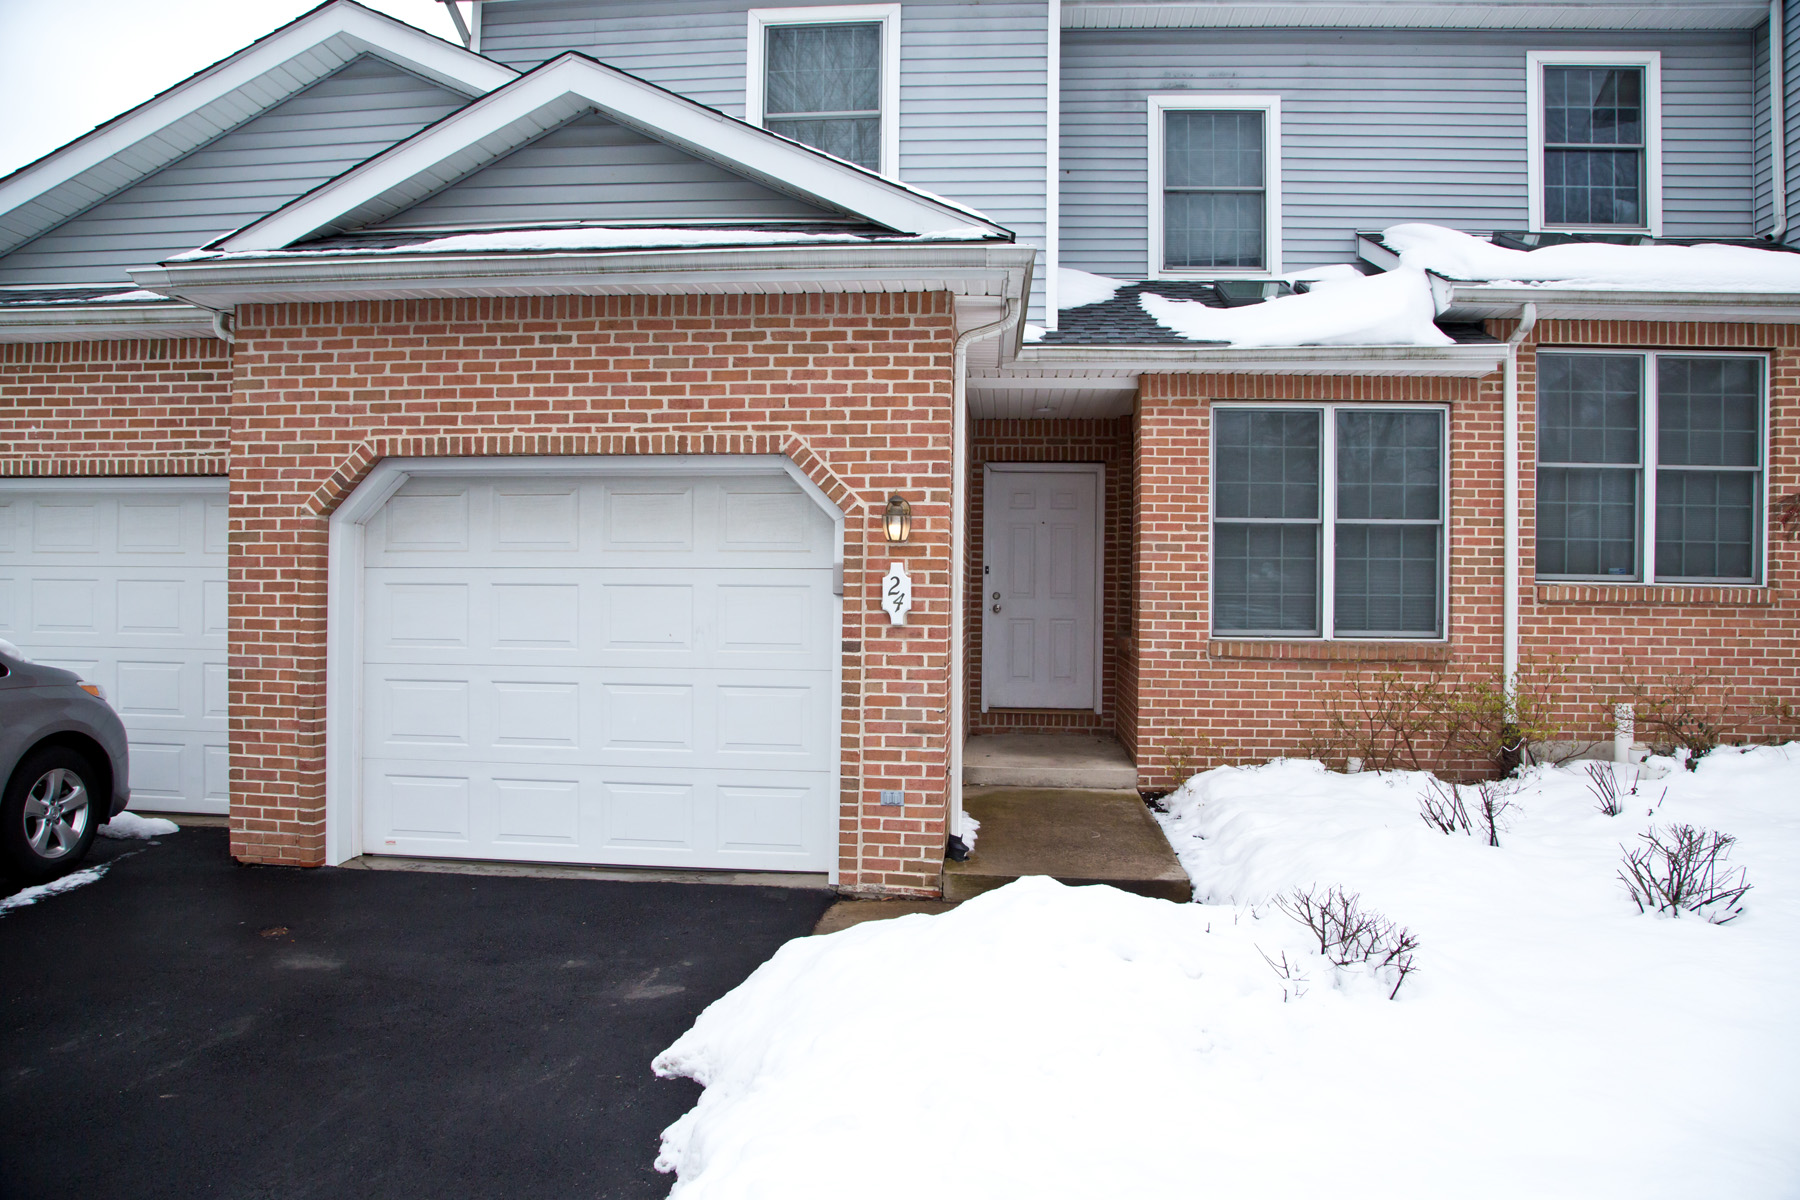
We hope you enjoy your tenancy here at 1460 Blue Course Drive.

Please see some quick links below

Welcome to your new home at 1460 Blue Course Drive

… We hope you’ll enjoy your time here with us. This page is provided to give you any and all information you may need during your tenancy with us. You’ll be able to find; What steps to take before and after you move-in to your new home. Information pertaining specifically to the property for your knowledge, along with how to setup any smart features available at the property; How and where you can pay your monthly rent and utilities covered by the owners; How to transfer and setup your new utility service providers at your new address; Any and all documents related to your tenancy at the property; Who to contact if anything goes wrong.

If there is anything else you might need please don’t hesitate to contact us below and we hope you enjoy your time here!

Property Information

Other Facts

Garage Door Setup

Your garage door comes with the following features …

  • Visor Key Fob
  • Exterior Keypad
  • Wifi Enabled Smart App via Internet Bridge

Your Visor Key Fob is already programed for the opener. The large button on it marked “I” will open and close the garage door

The Exterior Keypad is programmed to with a Master Code. This 4 digit master code will be provided via email or text from your property manager for safety reasons. Simply enter your 4 digit master code and press enter. The garage door will open. To shut the garage door with the keypad simply press the enter button.

To setup the Wifi Enabled Smart App please do the following …

  1. Download the myQ Smart Home app. Links can be found here:
    1. Apple Store
    2. Google Play
  2. Locate the provided “Bridge” – on the kitchen counter upon move-in.
  3. Connect the provided “bridge” to your internet modem via the provided ethernet cable.
  4. Locate a small hole on the side. Using a paper clip, insert and press on the button located inside.
  5. While holding the button down with the paperclip, plug the bridge into a wall outlet and power on. Wait until the light is solid green.
  6. Follow the on screen directions to create a new account and add your garage door.

Nest Smart Thermostat

Your home is fitted with a Nest Smart Thermostat. This will allow you to control you thermostat from your phone, along with setup and manage schedules for your heating and cooling. You do NOT need the app to use your thermostat.

To setup the Nest Smart Thermostat please do the following

  1. Download the Nest Thermostat app
    1. Apple App Store
    2. Google Play Store
  2. Goto your Nest Thermostat – Located in the downstairs hallway
  3. Your thermostat should be set to factor reset standards and ready for setup
    1. If it is not, click the rolling wheel and goto Settings -> Factory Reset. You may also goto Nest App to setup
  4. Follow the on screen directions to setup your thermostat and account.

Filters

You home comes with three filters that need regular changing. These include …

  • The central air system
  • Refrigerator water filter
  • Filters on the dehumidifier in the basement

Per your Lease Agreement you are responsible for replacing and keeping these filters clean.

Refrigerator Water Filter
When to replace: Will the filter icon on the fridge display is RED

What to replace:  These fridge uses DA29-0003 filters. A new filter has been installed prior to you move-in date, and you are provided with at least one extra filter. Per your Lease Agreement you are responsible for any additional filters needed during your term. You can purchase more at any local hardware store, or on Amazon. Simply search for “DA20-0003 Filter

How to replace

  1. The filter located in the top right of the refrigerator side of the unit.
  2. Place a towel under the filter to collect any drips.
  3. Turn the filter counter clockwise (as displayed on the housing) till it comes free.
  4. Remove the filter and discard
  5. Install the new filter by inserting and pressing the new filter into the housing and turning clockwise. Do NOT over tighten. Simply go till snug.
  6. Set the fridges water dispenser to “Water” and run for at least a minute (4-5 cups of water). Water should flow consistently and without any black carbon residue when finished.
  7. Locate the button that reads “Energy Saver / Hold for 3 sec for Filter Reset”
  8. Press and hold the “Filter Reset” button for 3 seconds till the filter indicator on display turns blue again. The refrigerator will chime

Central Air System
When to replace: 
The Nest Thermostat will alert you when the filter needs replaced via the smart phone app or the display on the thermostat.

What to replace: Your central air system uses 16x25x1 filters. A new filter has been installed prior to you move-in date, and you are provided with at least one extra filter. Per your Lease Agreement you are responsible for any additional filters needed during your term. You can purchase more at any local hardware store, or on Amazon. Simply search “16x25x1 Filter

How to replace

  1. In the basement you will find the central air system and furnace
  2. The front contains two removable panels. A top and a bottom.
  3. On the top panel will have a handle on it, lift up on the top panel and pull the bottom half out. Set aside
  4. On the bottom panel, pull the top half out and lift the bottom half up. Set aside.
    *Duct tape may be there to hold the top portion in place. If so simply remove the duct tape. You will need to apply new duct tape when reinstalling the door. The duct tape is needed to ensure the door depressed the safety switch inside and allow the system to run.
  5. The filter is located to the left of the furnace. It is held in place by a metal bar. Compress the metal bar and pull towards you. It will come free.
  6. Remove the old filter and discard.
  7. Take the new filter and locate the Air Flow indictor arrow on the filter. This arrow indicates the direction the filter must be placed. When properly installed the arrow will face to the right, towards the furnace.
  8. Install the new filter and secure with the metal bar
  9. Reinstall the two removable panels as described above. First the bottom panel, then the top panel.
  10. System will start itself back up if it was previously running

*Note: There is a small safety switch located where the two panels meet. This must be compressed by lower panel for the system to work. IF the lower panel will not stay in place, simply use two pieces of duct tape to hold the panel in place on the left and ride side of the furnace. There may already be tape holding it in place.

Dehumidifier Filter
When to replace: Once a year, or when visibly dirty

What to replace: The two mesh filters located on the sides of the unit.

How to replace

  1. Turn off the dehumidifier.
  2. Locate the small pull tab slows on the filter housing.
  3. Pull gently till the housing come free.
  4. Take both filters and run under hot water for a minute till clean. Was the filters both directions.
  5. Shake till dry. Do not pat or rub with any town of sorts or you may risk damaging them. They do not need to be super dry to be reinstalled
  6. Reinstall by simply pressing the housing back in place.

Appliance Information

Microwave

  • Whirlpool WMH53520AS – Manual

Stove/Oven

Refrigerator

  • Samsung RSG257AARS – Manual

Dishwasher

  • Frigidaire FFCD2413US – Manual

Washing Machine

Dryer

Monthly Payments

Utilities

Move-in Steps

Before Moving-In

Prior to moving in you must do the following …

  • Complete the Lease Agreement, and pay your security deposit, plus first and last months rent.
  • Transfer all utilities into your name. This includes Electric, Gas, and Internet/Cabel
  • Provide proof of renters insurance

After Moving-In

On the day of your move-in you will be provided a garage door access code. This will be used to enter the property. Inside you will find copies of the door keys, along with mailbox keys.

Upon move-in you will be required to review the property. Below details any known damage or issues with the property. Any additional damage you might notice please report to management.

Damage Checklist

1st Floor

Garage

  • General drywall patches and scuffs
  • Paint, oil and general stains on concrete floor

Entrance way

  • Minor paint scuffs on wall and trim
  • Drywall chip to right of door front
  • Mail above light switch
  • General paint scuffs on garage door around door knob and middle of door
  • Minor dent in drywall to left of half bath door
  • Drywall anchors above closet
  • Interior of Closet walls scuffed
  • Basement door has minor scuffs and holes drilled for pictures
  • Minor drywall imperfections on 1st floor hallway wall

Half Bath

  • Minor drywall dent from door swing
  • Minor floor and trim scuffs, including near toilet base
  • Ceiling drywall chips
  • Discoloration under vanity

Breakfast nook

  • Minor drywall dents throughout
  • Minor paint scuffs on walls and trim
  • Discoloration in trim paint around windows
  • Minor screen damage and cracks
  • Window accent broken at bottom of window by entrance
  • Nail in wall by neighbors side
  • Faded spot on floor

Kitchen 

  • Chip on countertop to left of stove 
  • Minor scuff on floor in front of stove 
  • Drywall damage to right of fridge where door opens 
  • Picture hanger above entrance to dinning room
  • Paint scuffs where swing or dishwasher is located. 
  • General paint scuffs and drywall dents behind cabinets by sink 
  • Loose water sprayer cap and hose
  • Nail above sink
  • Minor drywall crack above ceiling light
  • Strip lighting added over sink (Free to remove and discard)

Dinning room

  • Crack in ceiling near kitchen
  • Nail above light switch wall
  • Minor paint scuffs and drywall dings above light switch wall
  • Minor drywall dings on neighbors wall
  • Minor paint scuffs on trim throughout 
  • Minor scratch on floor by sliding door
  • Paint scuffs on sliding door
  • Discoloration in trim paint around sliding door
  • Discoloration on sliding door glass
  • Discoloration on banister near support beam

Living room

  • Drywall patches on ceiling
  • Minor paint and drywall scuffs throughout 
  • Screen patches on right side window
  • Picture hook above fireplace. 

Stairway

  • Minor paint and drywall scuffs and dings throughout
  • Carpet at landing left by previous tenants. (Free to throw out/remove)

2nd Floor

Hallway

  • Minor paint chips on door trim and doors 

Washing room

  • Minor scuffs on walls and floor
  • Minor scuffs on washing machine top and door from doors and use
  • Minor scuffs on dryer top and door from doors and use. Red nail polish stain also

Master Bedroom

  • Minor paint and drywall dings on all walls
  • Trim paint chips on floor near windows 
  • Ceiling paint fading in general

Master Bathroom

  • Screen patch on window above toilet
  • Minor drywall patch to right of vanity
  • Ceiling drywall chips above vanity 
  • Paint scuffs and patch on bathroom door
  • Toilet bowl is cracked (Replacing)

Master Closet

  • Not painted
  • General scuffs on walls from use
  • Nail to right of entrance
  • Miscellaneous shelf brackets from previous configurations

2nd Bath

  • Minor drywall patches and dents on towel rod wall and above shower 
  • Trim paint chips
  • Drywall patch to left or sink
  • Chip in sink basin

Bedroom 2 (Neighbors Side)

  • Minor trim paint chips 
  • Ceiling paint discoloration
  • Minor paint chips on driveway side
  • Closet walls scuffed from use & not painted
  • Drywall patches from closet walls
  • Window screen patched

Bedroom 3 (Above Garage)

  • Miscellaneous trim paint scuffs
  • Minor drywall dents near light switch
  • Minion paint scuffs on bathroom wall and right side wall
  • Paint discoloration above closet on ceiling
  • Closet walls scuffed and patched from use & not painted

Exterior

  • Lose front handle on screen door
  • Scuffs on garage door
  • Few Back deck solar lights inoperable not damaged
  • Back porch light housing slightly damaged

Basement

  • Scuffs and paint chips in ceiling and stairway walls
  • Minor drywall dents on stairway walls
  • Large drywall damage by stairway light on ceiling.

Documents

Still need Help? Contact Us!

E-mail

Phils@412RES.com

phone

(412) 440-7742

Phil Salone

412 Real Estate Solutions

Ask a question